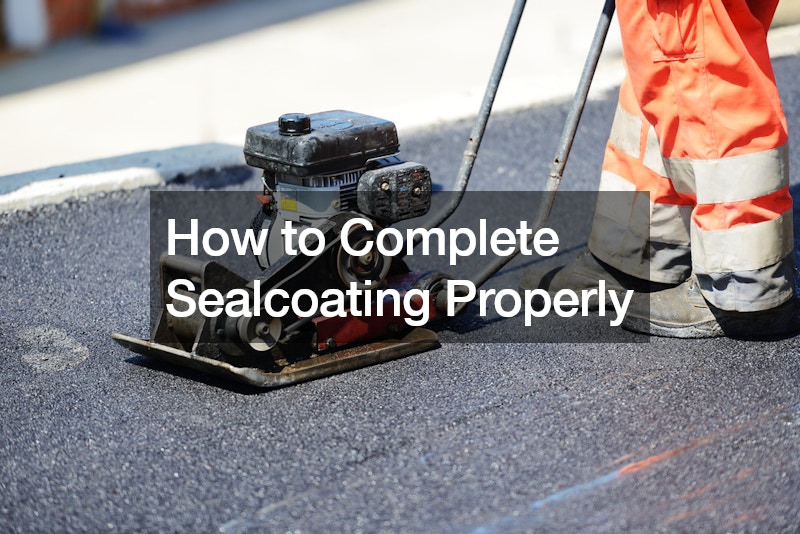
Completing sealcoating properly involves meticulous preparation and application to ensure the longevity and appearance of your asphalt surfaces. Begin by thoroughly cleaning the surface to remove dirt, debris, and any existing oil stains. This step is crucial as a clean surface allows the sealcoat to adhere better.
Using a pressure washer can help achieve a spotless surface. After cleaning, inspect the asphalt for cracks and potholes. Repair these imperfections using crack filler and patching compounds to create a smooth, even surface, as sealcoating over damaged areas can result in a poor finish.
Once the surface is prepped, the sealcoating application process can begin. The sealcoat mixture should be prepared according to manufacturer instructions, ensuring it has the right consistency. Application can be done using a brush, squeegee, or spray system, depending on the size of the area and personal preference. For larger areas, a sprayer might be more efficient. Apply the sealcoat evenly in thin layers, starting from one edge and working systematically to cover the entire surface. It’s crucial to avoid puddling and ensure each layer is completely dry before applying the next. Typically, two coats are recommended for optimal protection.
After applying the sealcoat, the area should be left undisturbed for at least 24 to 48 hours to allow proper curing. This period prevents damage from foot traffic and vehicles, ensuring a durable and smooth finish. Properly executed sealcoating not only enhances the appearance of your asphalt but also provides a protective layer that extends the life of the surface, guarding against the effects of weather, chemicals, and daily wear and tear.
.


