

Choosing paint colors and furniture layouts is the fun part of home design, but the decisions that actually protect your investment happen behind the drywall. Wiring, plumbing, framing, and structural systems dictate what renovations are realistic, what they will cost, and how long your finished space will last. Skipping this step is how homeowners end up with beautiful rooms sitting on top of expensive, hidden problems. Understanding what’s inside your walls before you redesign around them can save you thousands and prevent avoidable headaches down the road.
Plumbing Layout Determines Bathroom Renovation Possibilities
Before you fall in love with a floating vanity or a freestanding tub, you need to know where your pipes actually run. Moving a toilet or shower even a few feet can mean cutting into concrete slabs or rerouting drain lines, which dramatically changes labor and cost. This is one of the main reasons bathroom remodeling projects run over budget when homeowners design first and investigate plumbing second.
A contractor who understands the existing layout can tell you quickly whether your dream design is a simple update or a full gut renovation. Working with the current plumbing footprint, when possible, keeps costs predictable and timelines shorter. Ask for a walkthrough of your supply lines and drain locations before finalizing any bathroom design.
Structural Framing Shapes Where Walls Can Move

Open-concept layouts are popular, but not every wall can be removed without consequence. Load-bearing walls transfer weight from the roof and upper floors down to the foundation, and removing one without proper support can cause sagging, cracking, or worse. Identifying which walls are structural versus cosmetic is a critical first step before any demolition begins.
This is where civil contractors become valuable partners in a renovation, since they understand load paths, beam sizing, and how to reinforce a space safely once a wall comes down. Their assessment protects both your safety and your home’s long-term stability. Skipping this evaluation to save money upfront often costs far more in structural repairs later.
Electrical Wiring Age Affects Lighting and Appliance Upgrades
Older homes often have wiring that was never designed to handle modern electrical loads, including recessed lighting, smart home systems, and multiple large appliances running at once. Before adding a kitchen island with built-in outlets or a home theater setup, it’s worth having the panel and wiring inspected. Overloaded circuits are a common cause of tripped breakers and, in worse cases, electrical fires.
- Homes built before 1980 may still have aluminum wiring that requires special connectors
- Adding new lighting circuits often requires panel capacity checks first
- Smart thermostats and smart locks can strain outdated electrical systems
- A licensed electrician should confirm capacity before major design changes
HVAC Ductwork Constrains Ceiling and Layout Design
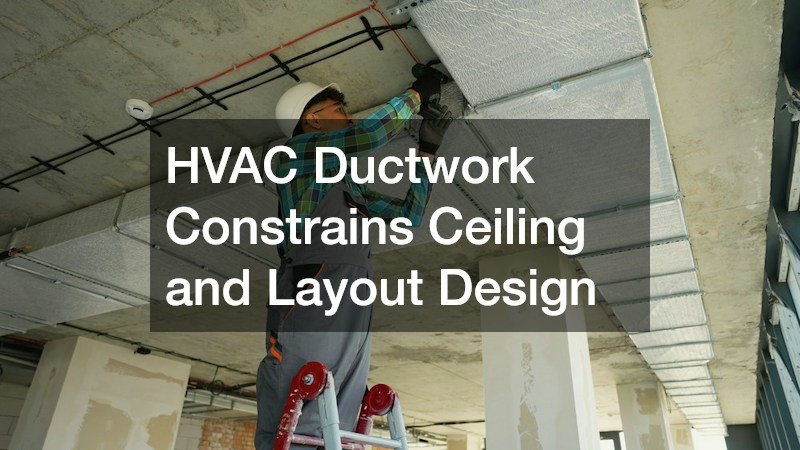
Dropped ceilings, exposed beams, and open floor plans all interact with the ductwork running through your home, and changing one often means adjusting the other. A dropped ceiling that seems purely cosmetic may actually be hiding trunk lines that feed every room on that floor, which means removing it isn’t as simple as a fresh coat of paint and some crown molding. Before you commit to exposed beams or a vaulted look, check whether ducts run through that space—rerouting them can cost thousands and may require giving up a few inches of ceiling height elsewhere. If you’re planning a heating company visit to upgrade your furnace or add zoned heating, it helps to know where existing ducts run so the new system fits without major demolition. Ask the heating company for a duct map or load calculation before finalizing any layout changes, since this tells you which walls and ceilings are load-bearing for airflow, not just structure. This is especially important in open floor plans, where a single duct run may need to serve a much larger square footage than it was originally sized for. Poor duct placement can also lead to uneven temperatures between rooms, which no amount of interior styling will fix. A room that’s consistently 5-8 degrees warmer or cooler than the rest of the house is often a sign that ducts are undersized, disconnected, or routed inefficiently behind the walls. Catching this early, before you invest in furniture placement or built-ins around that room, can save you from redesigning around a comfort problem instead of a style choice.
Ductwork is one of the biggest hidden constraints on ceiling height and room layout, since main trunk lines often run 12 to 18 inches deep and need to travel from the air handler to every room in the house. That’s why homes with forced-air systems frequently have dropped soffits or bulkheads along hallways and kitchen perimeters — they’re hiding the ducts, not just adding style. Before you fall in love with a vaulted ceiling or an open-concept redesign, find out where those trunk lines actually run. Similarly, AC installation projects benefit from a home layout that accounts for airflow, vent placement, and return air paths. A well-planned system keeps rooms comfortable year-round instead of leaving some spaces stuffy and others cold. Removing a wall without relocating its return air vent, for instance, can throw off the whole system’s balance and leave adjacent rooms fighting for airflow. Room additions and layout changes also affect duct sizing calculations, since HVAC systems are engineered around a home’s total square footage and room configuration. Adding a sunroom or converting a garage into living space may require extending ductwork or installing a mini-split rather than tapping into the existing system. Discussing ductwork with your HVAC technician before finalizing ceiling designs prevents costly rework later, including the expense of tearing out newly finished drywall to reroute a duct that should have been mapped out from the start.
Roof Condition Influences Attic and Insulation Projects
If you’re planning to convert an attic into livable space or add skylights for natural light, the condition of your roof matters more than the interior design itself. Asphalt shingle roofs typically last 20-25 years, and if yours is already 15 years old, investing in a finished attic beneath it is a gamble. A roof nearing the end of its lifespan can leak, sag, or fail to properly ventilate a newly finished space, undoing your renovation within a few years. Poor ventilation is especially easy to overlook until it’s too late. Without adequate soffit and ridge vents, trapped heat and moisture can warp new drywall, degrade insulation, and even promote mold growth behind the walls you just finished. Adding skylights only raises the stakes, since each new opening is another potential leak point if flashing isn’t installed correctly. Getting a professional inspection before starting attic work is a smart first move. Ask the inspector to check the roof decking for soft spots, evaluate the flashing around any existing vents or chimneys, and confirm that current insulation meets recommended R-values for your climate zone. Catching these issues beforehand costs far less than tearing out finished ceilings later to fix a hidden leak.
Before any attic conversion or insulation upgrade begins, a roof inspection should top the checklist. Signs like curling shingles, dark streaks on the decking, or soft spots in the plywood often signal leaks that haven’t yet made themselves known indoors. In some cases, homeowners discover mid-project that a full roof replacement is necessary before insulation or drywall can go in safely. While this adds cost upfront, it prevents water damage and mold growth that would otherwise ruin new interior finishes. A roof that’s quietly leaking can soak insulation over months, reducing its R-value and creating hidden mold colonies long before stains appear on the ceiling below. Tearing out compromised insulation and drywall a second time costs far more than pausing for a roof replacement at the outset. Contractors typically recommend budgeting an extra 10-20% into attic projects specifically to cover the possibility of roof repairs once the space is opened up. Ventilation matters just as much as the shingles themselves; poor attic airflow can trap moisture even under a newly replaced roof, undermining the very insulation it’s meant to protect. Addressing roof health first protects every dollar spent on the space beneath it.
Foundation Drainage Determines Basement Finishing Success

Finished basements are a popular way to add square footage, but moisture is the biggest threat to any below-grade renovation. Before installing flooring, drywall, or built-in shelving, it’s essential to understand how water moves around your foundation during heavy rain. Grading, gutter placement, and sump pump function all play a role in keeping a finished basement dry.
In flood-prone areas, homeowners are increasingly investing in flood protection barriers to keep water from reaching basement walls and door thresholds during storms. These systems work best when installed before finishing work begins, rather than as a reaction to a flooded basement. A dry foundation is the real foundation of any successful basement design.
Water and Sewer Systems Affect Renovation Timing
In some neighborhoods, especially those with shared or municipal systems, plumbing problems can originate outside the home entirely. Homes connected to a municipal lift station may experience backups or slow drainage if that infrastructure isn’t functioning properly, and no amount of interior plumbing work will fix a problem rooted in the city system. If you notice recurring drainage issues, lift station repair may need to happen before any interior remodeling can move forward.
It’s worth checking with your local utility department if drainage problems persist despite updated interior plumbing. This step is often overlooked because homeowners assume the issue is isolated to their house. Confirming the source of the problem saves time and prevents repeating renovation work unnecessarily.
Roof Drainage Systems Protect New Exterior Finishes
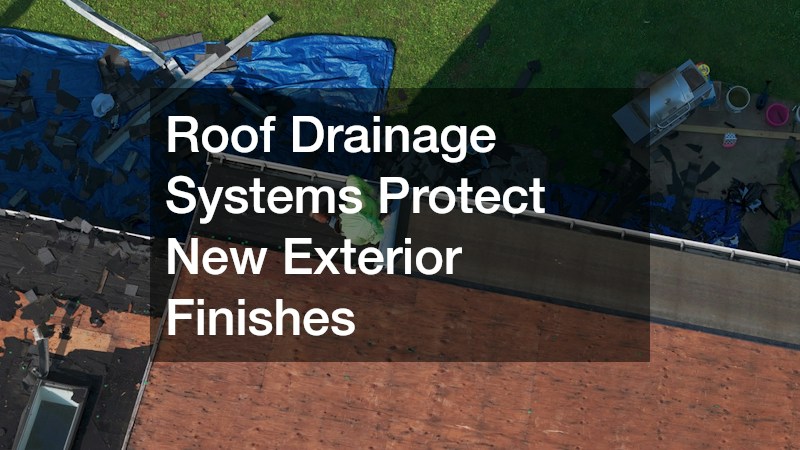
Curb appeal projects, like updated siding, exterior lighting, or a fresh coat of paint, can be undermined quickly if water isn’t being directed away from the house properly. Overflowing or leaking gutters send water cascading down exterior walls, which can stain new paint, warp freshly installed siding, and rot the trim and fascia boards you just replaced. Seamless gutters reduce the number of joints where leaks typically develop, offering better protection for freshly painted trim and new siding materials. Traditional sectional gutters rely on multiple connection points along the roofline, and each seam is a potential failure point where debris can catch and water can seep through over time. A seamless system, formed on-site to match the exact length of your roof edge, eliminates most of those weak spots. Because they’re custom-fit to your roofline, seamless gutters also tend to handle heavy rainfall more efficiently than sectional alternatives, moving water toward downspouts without the pooling that often occurs at joints. Pairing them with properly sized downspouts and splash blocks or extensions ensures water clears the foundation by several feet rather than collecting near the base of the house. That extra bit of planning protects not just the exterior finish, but the landscaping and foundation waterproofing beneath it.
When homeowners are already coordinating with roofing companies for repairs or a new roof, it makes sense to evaluate gutter condition at the same time. Gutters that are sagging, pulling away from the fascia, or pitched incorrectly can send water cascading down siding, stucco, or freshly painted trim instead of directing it safely to the downspouts. Since new exterior finishes are especially vulnerable during their first few seasons, this is the ideal moment to catch problems before they cause staining, rot, or peeling. Replacing gutters and roofing together ensures proper alignment and water flow from day one. Roofers can adjust drip edges, flashing, and gutter slope as a single system, typically aiming for about a quarter-inch of pitch per ten feet of gutter run so water drains efficiently rather than pooling. They can also size downspouts appropriately for the roof’s square footage, since undersized drainage is a common cause of overflow during heavy storms. This coordinated approach reduces the risk of water damage to new exterior design elements soon after installation. It also spares homeowners the cost of hiring separate contractors twice, once for the roof and again later for drainage corrections, when a single project could have addressed both. For anyone investing in updated siding, exterior lighting, or landscaping near the foundation, confirming that water is being channeled well away from the house protects that investment long after the crews have packed up.
Pest Activity Behind Walls Impacts Material Choices
Wood-destroying insects and rodents can cause hidden damage long before any visible signs appear on interior walls or trim. Before investing in custom cabinetry, hardwood flooring, or built-in shelving, it’s worth confirming that your walls are free of termites, carpenter ants, or rodent activity. Working with pest control companies during the inspection phase of a renovation can catch problems early, before new materials are installed over compromised wood.
Pest damage often affects framing and subflooring, which are expensive to repair after finishes are already in place. A pre-renovation pest inspection is a small cost compared to redoing flooring or drywall a second time. It also gives homeowners peace of mind that their design investment is being built on solid, healthy structure.
The most successful renovations start with an honest look at what’s happening behind the walls, not just what will look good in front of them. Taking time to understand your home’s plumbing, electrical, structural, and drainage systems helps you make design choices that actually last. Before you commit to a new layout or finish, schedule the inspections and professional assessments that reveal what you’re really working with. That upfront investment protects your budget, your timeline, and the home you’re working so hard to improve.
